 Back
Back|
Back |
|
Dynamic Report Views
Report views are predefined report snapshots. You can base these report views on any dynamic report in Advisor View – for example, some users find it convenient to create a report view that shows large capital flows and another report view that shows small capital flows. The report views make it easy to create several customized reports that show slightly different information.
All the reports provided in Advisor View can be edited to meet the needs of your firm. You can also create any number of report views with different properties and settings. These reports can be made available on the dashboard for both advisors and clients.
If you want to know more about the Find Data For list, see Using the Find Data For List.
To create a report view:
On the Reports menu, click the type of report you want to create. For a description of each report, see Introduction to Reports.
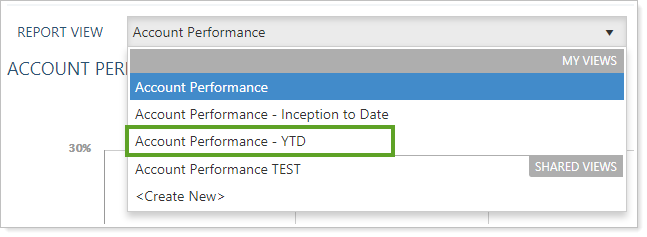
In the Report View list, click <Create New>.

Enter a report name and configure all other settings.
Click Create. The report will now appear in the Report View list.
For more information on each of the settings for your reports, visit Learn More About Reports.
To delete a report view:
On the Reports menu, click the report type you want to delete.
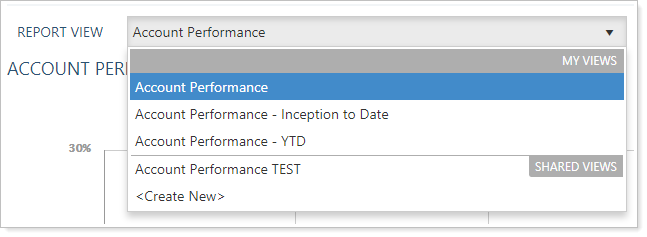
In the Report View list, choose the report you want to delete.
Click Delete.
In the delete confirmation alert, click Delete.
To make changes to a report view:
On the Reports menu, click the report type you want to modify.
In the Report View list, choose the view you want to modify.
Click Edit.
Make the necessary changes to the report view, and then click Save.
For more information each report setting, see Learn More About Reports.
You can share your views for others to see. Users will see any views they created for reports, plus any that are publicly available (and which an administrator has given them permission to view, using the User Management page).
In order for others to be able to use views that you've created, you will need to mark them as publicly accessible.
For details on sharing Dashboard views, see Create and Share Dashboard Views.
To share a report view:
From the Reports menu, click a report that has the view you want to share.
In the view list, select the view you want to share.
Click Edit.
Select the Mark as publicly accessible check box.
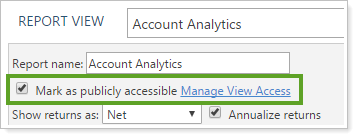
If you click Save As New, the Mark as publicly accessible check box will be cleared. You will need to edit the report to set it as publicly accessible. This reset occurs for any report when you Save As New.
Any changes you make in the future will be visible to anyone who has permission to see the view.
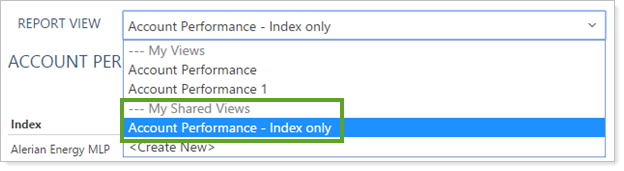
Only administrators can edit shared views. Other users can see them, but will not be able to make any changes. You can easily identify shared views, because in the select view list, they are grouped under headings for My Shared Views (which you can edit) and Shared Views (which you can't edit).
However, if you are not an administrator and you want to make a few changes to a view, you can copy the shared view and save it with a new name. You can then customize it as needed, and unless you share the view, it will be visible only to you.
To copy a view:
From the Reports menu, click a report that has the view you want to copy.
In the Report View list, select the view you want to copy.
Click Edit.
Type a new name.
Click Save as New.

Click Edit.
Make your desired changes.
If you selected the Mark as publicly accessible check box before clicking Save as New, it will be cleared and you will need to select it again. This reset occurs for any report when you Save As New.
The new view will be under the My Views heading in the Report View list.
To print a dynamic report view, use the standard print from the browser.
For more information, see Print a Dynamic Report.

