
Contents
|
|

Introduction
Not all users can create and share dashboard views—these tasks are limited to administrators in order to keep permissions consistent and well-structured.
As an administrator, you can set up view sets to define dashboards, then assign the view sets (dashboards) based on users' roles—for example, you could have a view set for Compliance employees and another for advisors.
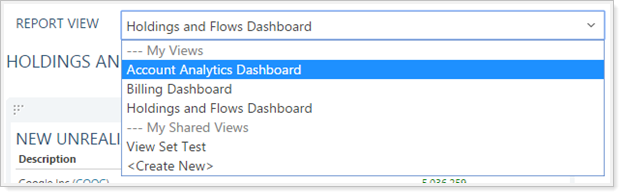
Users will see all dashboards they have permission for when they use the Report View list on their Dashboard page, but they will not be able to change shared views. If they aren't seeing a report that you've added to their dashboard, check whether they have permission for the report page the view is tied to.

Allow Reports to Be Shared
When you create a dashboard, the only report views you'll have access to are the ones that have been shared.
To share a report view:
-
From the Reports menu, click a report you want to use for a shared dashboard.
-
In the Report View list, select the report view you want to use, or choose the default report view if you want to use that for your dashboard.
-
Click Edit.
-
Select the Mark as publicly accessible check box.
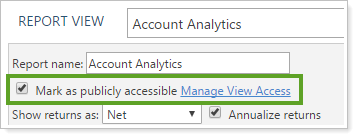
- Click Save.
Note
If you click Save As New, the Mark as publicly accessible check box will be cleared. You will need to edit the report to set it as publicly accessible. This reset occurs for any report when you Save As New.
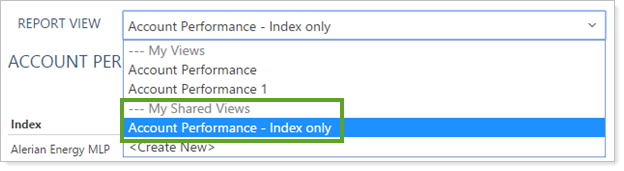
Your report view will now show in the My Shared Views section of the view list.
Create a View Set and Assign It to Users
Now that the reports you want to use can be shared, you can combine them into a set that defines what is available to the dashboard.
To create a view set:
-
On the Setup menu, click User Management.
-
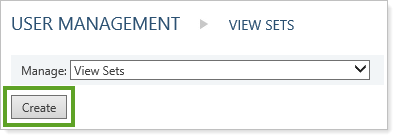
In the Manage list, select View Sets, then click Create.
-
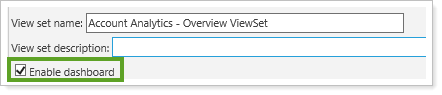
Type a name for your view set.
-
Select the Enable Dashboard check box.
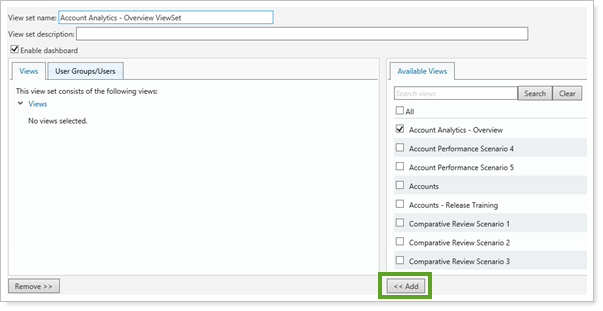
-
From the Available Views tab, select the report views you want people to see on the dashboard, then click Add. Report views will only be available if they have been set as publicly accessible.
-
Click the User Groups/Users tab.
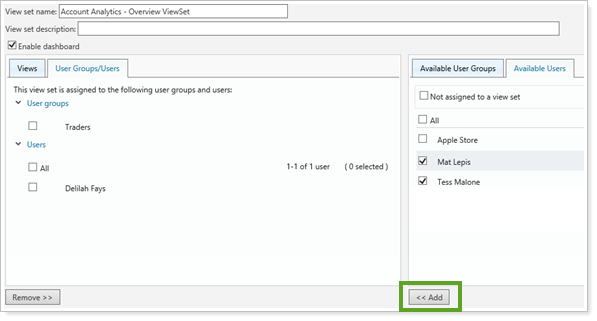
-
Click the Available Users tab and select the users who should have access to the dashboard view. Click Add. Only regular users are available in the Available Users tab, since administrators already have access to everything.
-
Click the Available User Groups tab and select the user groups that should have access to the dashboard view. Click Add.
-
Click Save.
Set Which Reports a Role Can Access
With permissions set for users and user groups, you can now set which roles can access the reports on your dashboard.
To set up access for roles:
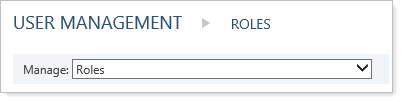
-
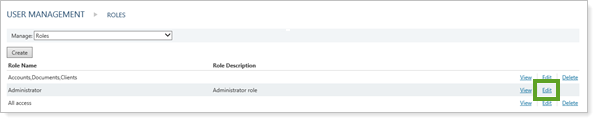
In the Manage list, click Roles.
-
Click Edit for any role that should have access to the reports you included in the view set for the dashboard.
-
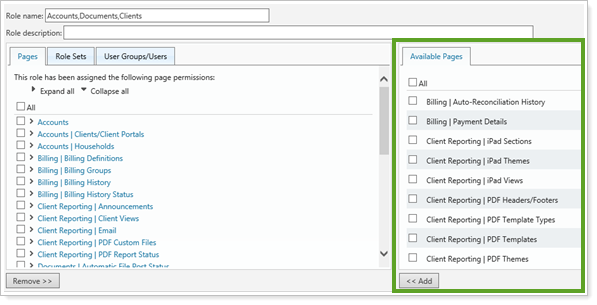
From the Available Pages tab, add the pages for the reports that you included. For instance, if you included a report view for Account Analytics – Overview, then you’ll add the Reports | Account Analytics page, which is where you created that report view.
-
Click Save.
Assign Roles and Accounts for Users
With your role sets assigned, you can now make sure your user is assigned to the role set, and make sure they have permission for the view set and the appropriate accounts.
To set up role sets:
-
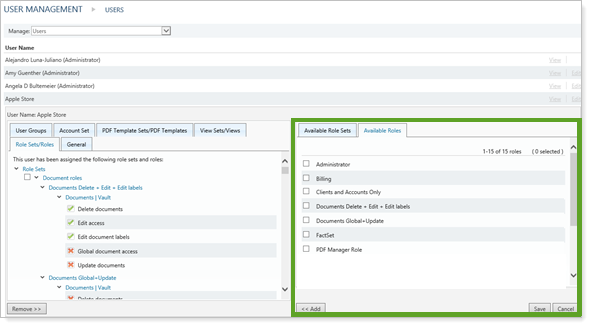
In the Manage list, click Users.
-
Click Edit for the user who should have access to the reports you included in the view set for the dashboard.
-
Click the Role Sets/Roles tab, then from the Available Roles tab, select the role that should have access to the reports being shared in the dashboard view, and click Add.
-
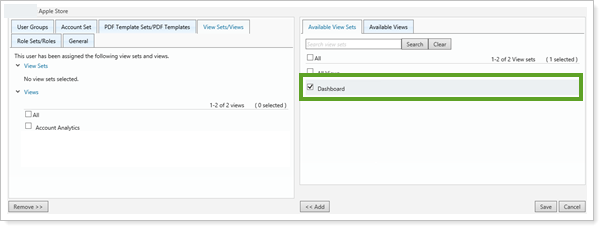
Click the View Sets/Views tab, then check that the view set you created for the dashboard is assigned. If not, select it, along with any other views you want users to see (you can choose from all view sets that you and other administrators have created), then click Add.
-
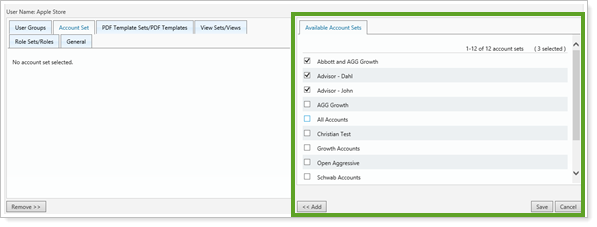
Click the Account Set tab, then from the Available Account Sets tab, click accounts you want the user to see, then click Add.
-
Click Save.
Set Up the Dashboard
Now that all your permissions are assigned, you can go to the dashboard view and add the available reports to the dashboard so that when the user signs in, they won't have to do any setup.
To set up a dashboard:
-
Click
 from the menu.
 -
In the Report View list, select the new dashboard view.
-
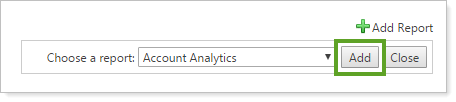
In the Choose a report list, select a report you want on the dashboard and click Add. Repeat for any additional reports you want to see. You will see only the report views that you selected on the View Sets page.
-
Arrange the reports on your dashboard by clicking and dragging them. The system will maintain the locations you choose the next time you come back to the view.
Verify Dashboard Access
We recommend verifying that your dashboard looks the way you want it to, since permissions can sometimes combine in ways that you didn't expect.
To check a dashboard:
-
Sign in as a regular user (an account without administrator permissions).
-
Click Dashboard from the menu and select the shared dashboard from the Report View list.

-
Verify that all the reports display as you expect them to. If you see results that are different than what you expected, you'll need to sign back into your administrator account and check the permissions you set up. Because you can assign multiple roles and views, you can sometimes have permission conflicts that cancel each other out. Note that Advisor View will grant permissions rather than restrict them whenever one role grants access and another restricts it.
Duplicate a Dashboard View
Only administrators can edit shared dashboards. Other users can minimize reports, but will not be able to hide reports or change which reports are included on the dashboard. You can easily identify a shared dashboard view, because the only icons available for the reports are the Go to detailed report icon and the Minimize icon.
![]()
However, if you are a non-admin user and want a dashboard that has a few changes, you can copy the shared dashboard and save it with a new name. You can then customize any reports that you have permission to edit. If you don't have permission to edit a report, you will still be able to remove it.
To copy a dashboard:
-
Click Edit.

-
Type a new dashboard name.
-
Click Save as New.
