
Contents
|
|

Introduction
Generating billing history for your billing groups calculates the fees that Advisor View will include on the invoice. Generating billing history separate from generating the billing statement gives the flexibility to re-run billing statements and re-print an exact copy of a historical billing statement that was sent to the client.
You have two options for generating billing history: generate it before creating the billing statement (recommended) or generate it with the billing statement.

Generate Billing History Before Creating the Billing Statement (Recommended)
To generate billing history separate from creating the billing statement:
-
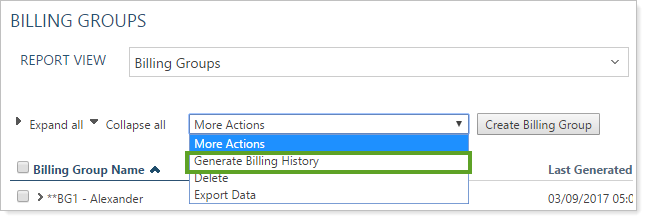
On the Billing menu, click Billing Groups.
-
Select the billing groups that you want to create billing history for and then, in the More Actions list, click Generate Billing History.
-
In the Billing date box, add the date you want to generate the billing history for and then click Generate Billing History. You've now generated billing history. The next step is to generate the billing statement.
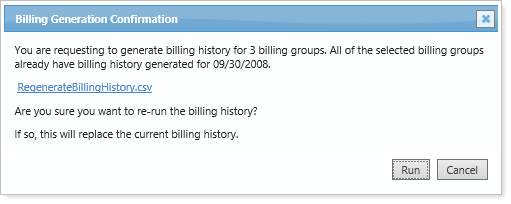
NOTE
If this group's billing history has already been generated for the selected date, you will see an alert asking you to verify whether you want to overwrite the existing billing history.
Generate Billing History When You Generate The Billing Statement
To generate a billing statement:
-
On the Accounts page, select one or more billing groups where you want to run a billing statement.
-
In the Actions list, click Generate PDF Report.
-
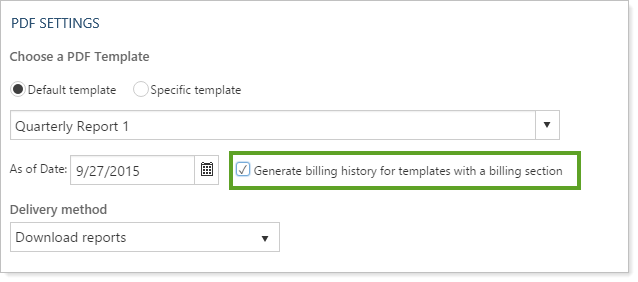
In the Select a template list, choose the template where you've added billing information. If you haven't added billing information to a template, visit Billing Statements.
-
Click in the As of date box, and use the calendar to select the beginning billing date.
-
In the Delivery Method list, click either Download reports or Post reports to clients. If you select Download reports, all generated reports will be available for you to download on the PDF Report Status page at your leisure or immediately if you only selected one account or group. If you select Post reports to clients, the generated reports will be posted to the appropriate client portals if the portal accounts have been set up. If a generated report cannot be posted to a client portal, the generated report will be available on the PDF Report Status page.
-
If you know the account does not have billing history generated, select the Generate billing history for templates with a billing section check box. This check box is only visible if you have the Generate billing history permission (set on the User Management page).
Note
The recommended workflow for generating billing history is to use the More Actions list on the Billing Groups page, accessed from the Billing menu.
If you generate it here, there's a chance you could accidentally overwrite existing billing history. We have included alerts to help reduce this possibility.
-
Click Generate Report.
-
If you are generating a single report to download, it will be immediately available in Adobe Reader® or Adobe Acrobat®. If you are downloading multiple reports, you will be taken to the PDF Report Status page. Here you will be able to download a .zip file containing all the reports you generated as well as view the status of the download.
-
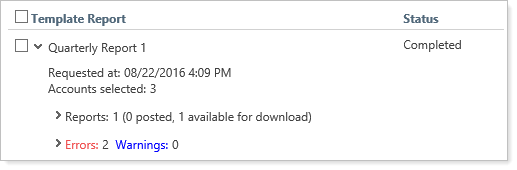
On the PDF Report Status page, Completed will appear in the Status column when Advisor View is finished generating the reports. If you selected a large number of accounts, processing may take a few minutes. If Advisor View is not finished generating the report, Processing will appear in the Status column. To update the status of the report, click the Refresh Status link at the top of the page.

-
When the Status column changes to Completed, click the “+” next to the report you want to view and then click the “>” next to Reports.
-
Click the link next to Download reports. If you are generating a billing statement for more than one account, Advisor View will create a ZIP file that contains the statements you generated.
-
If you generated reports for more than one account, in the Save As dialog, choose a location to save the ZIP file, and then click Save. When the download is complete, double-click the file you saved.
-
Double-click the billing statement file you want to view, and a PDF report appears on your screen. You need Adobe Reader or Adobe Acrobat to view the reports.
