
Contents

Introduction
The Roles section of the User Management page allows to create and change roles. A role is a set of page and action permissions that you define with a unique name. You can configure and define roles by the access they contain, the job title associated with that role, or any other criteria meaningful to your firm. You then assign that role, or set of permissions, to individual users.
Creating roles allows you to limit access to various pages and tasks within Advisor Rebalancing to only those who need access, preventing accidental changes and protecting sensitive information.
Notes
-
Administrators don't need their own role as they will have access to everything in Advisor Rebalancing.
-
If a user isn't assigned a role, he or she won't have access to anything in Advisor Rebalancing. If you add a new user, be sure that user is also assigned to the appropriate role.

Available Permissions
You can grant access to specific pages in Advisor Rebalancing. For example, you can prevent a user from accessing or seeing the Upload page. You can also grant access to specific actions on those pages. For example, you can give a user access to add account notes, but not to edit or delete account notes.
For a full list of available permissions you can assign to roles in Advisor Rebalancing, see Available Role Permissions.
Change Roles
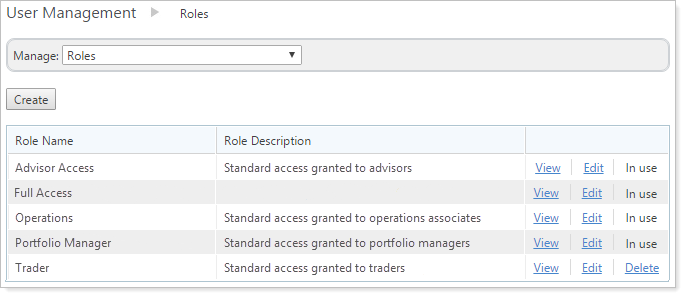
The Roles section of the User Management page lets you create and change roles, as well as delete roles that aren't currently in use. You can also assign roles to individual users here, as well as on the Users section of the User Management page.
Create a New Role
To create a new role to assign to users, follow these steps:
-
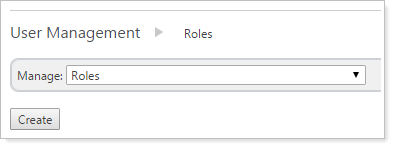
On the Setup menu, click User Management.
-
Choose Roles in the Manage list.
-
Click Create.
-
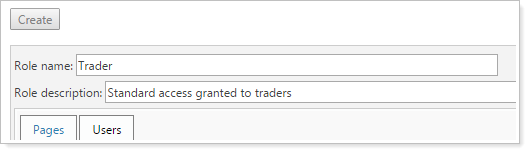
Type the name of your new role in the Role name box and add an optional description of the role in the Role description box.
Best Practice
Choose a name that's descriptive of the role. For example, you can use the name and description to outline the type of permission given, or the name of the job title associated with the role.
-
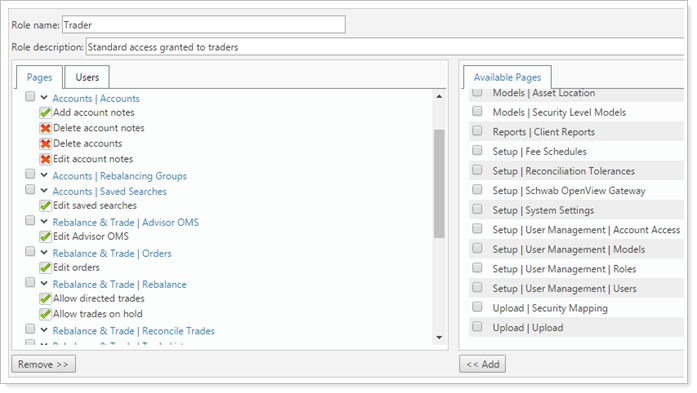
Choose the page or permission you want to add under the Available Pages tab.

-
Click << Add. That page permission now appears under the Pages tab. Some pages have additional permissions associated with them that you can customize.
-
A
 indicates that the user has permission for that action. A
  indicates the user does not have permission, but will have read-only access. Change these setting as needed.
 -
To add additional pages, click the page name in the Available Pages list, and then click << Add.
-
To remove a page, click the page in the Pages list and then click Remove >>.
-
-
Click Save.
Assign a Role to a User
After creating a role, follow these steps to assign that role to a user:
-
On the Setup menu, click User Management.
-
Choose Roles in the Manage list.
-
Click Edit next to the role you want to assign a user or users to.
-
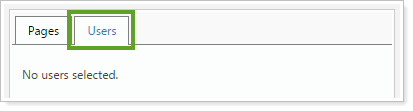
Click the Users tab.
-
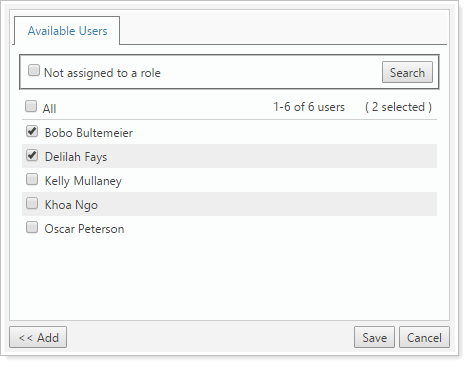
Select the user or users you want to assign to this role and click << Add.
-
Click Save.
You can also assign roles to users on the Users section of the User Management page. For more information, see Users.
View a List of Permissions for a Role
The View link allows you to see a read-only list of all permissions given to a particular role.
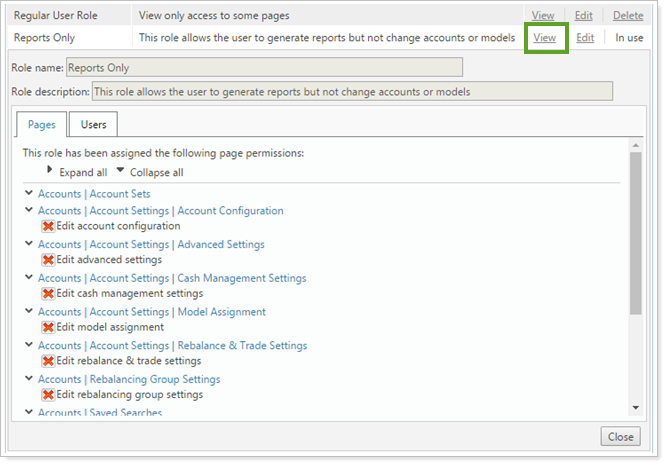
The View link also gives you a list of users assigned to that role by clicking the Users tab.
Delete a Role
You can use the Delete link to delete any roles not currently in use. To delete a role, follow these steps:
-
On the Setup menu, click User Management.
-
Choose Roles in the Manage list.
-
Click Delete next to the role you want to delete.
-
Confirm by clicking Delete.
