
Contents

Introduction
Using client integration allows you to simplify data management between Tamarac CRM and Advisor View. Client integration bi-directionally integrates the client’s name, email address, and date of birth between Tamarac CRM and Advisor View. You will also be able to see information about a client’s portal for linked clients.
From Tamarac CRM, you can create a new client in Advisor View with the click of a button, making it fast and easy to manage your clients. The client will be automatically linked, and your updates to the client will then sync across the products. Use the Create in Tamarac button for clients who are members of households that have already been linked to Advisor View.
Note
When you link a Tamarac CRM contact with a Advisor View client, the Tamarac CRM name will overwrite the Advisor View client name.

Link Individual Clients
In order to take advantage of the client integration such as name and email address synchronization, Advisor View clients need to be linked with Tamarac CRM contacts. You can link clients in Advisor View to contacts in Tamarac CRM either manually one at a time or in bulk using an upload.
To link a client individually, follow these steps in Advisor View:
-
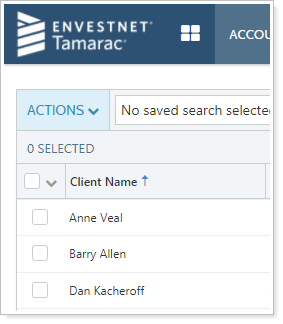
On the Accounts menu, click Clients.
-
Click an existing client. You can also perform this step when you create a new Household.
-
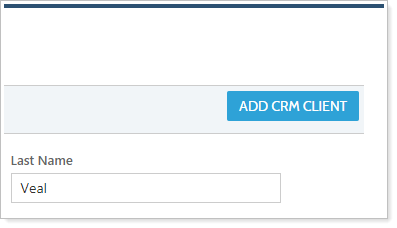
On the Settings page, click the Add CRM Client button.
-
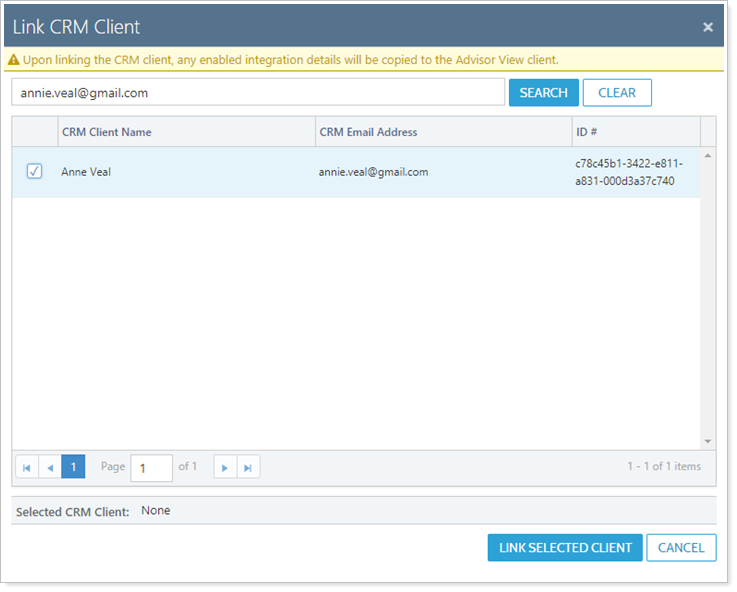
In the Search CRM Client names box, Advisor View automatically searches for the client's email address.
If the Tamarac CRM contact email is different, type the name or email of the contact you want to sync. When you see it in the list, click the associated radio button and then click Link Selected Client. All integrated fields (Contact Name, email address, and date of birth) will then be synced to Advisor View from Tamarac CRM.
Note
You may not find a match immediately if the email in Advisor View does not match the address in Tamarac CRM. If you don’t see a match, try clearing the search bar and searching by last name only.
The search only includes Tamarac CRM contacts that are not already linked.
Link Multiple Clients
In order to take advantage of the client integration such as name and email address synchronization, Advisor View clients need to be linked with Tamarac CRM contacts. You can link clients in Advisor View to contacts in Tamarac CRM either manually one at a time or in bulk using an upload.
To link multiple Households, you will use this general procedure:
-
Export account information from Tamarac CRM.
-
Export a bulk report from Advisor View.
-
Match the Tamarac CRM and Advisor View data in Excel.
-
Upload the Excel file in Advisor View.
Step One: Export Tamarac CRM Data
-
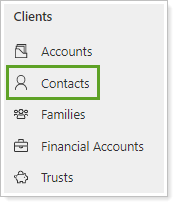
Under Clients, select Contacts.
-
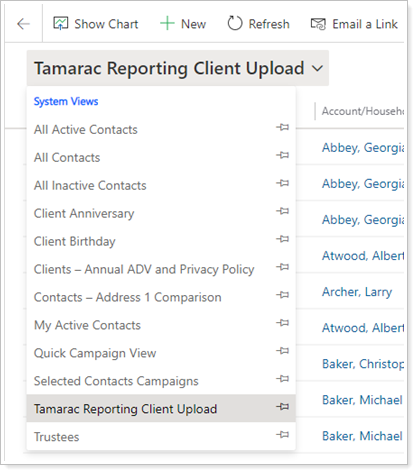
On the Contacts page, select the Tamarac Reporting Client Upload view.
-
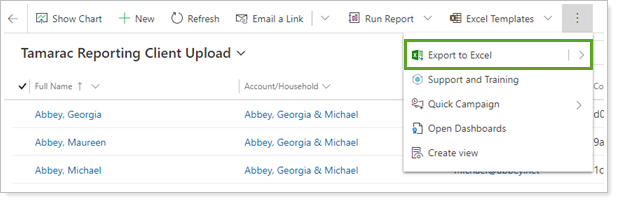
Click Export to Excel. This generates an Excel file you can download.
-
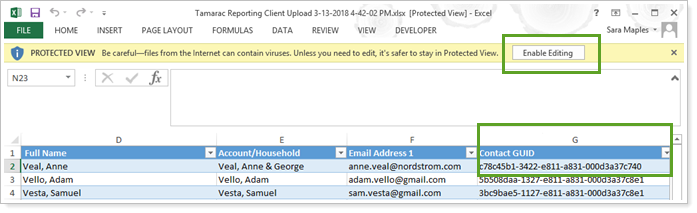
In the Excel file, click Enable Editing.
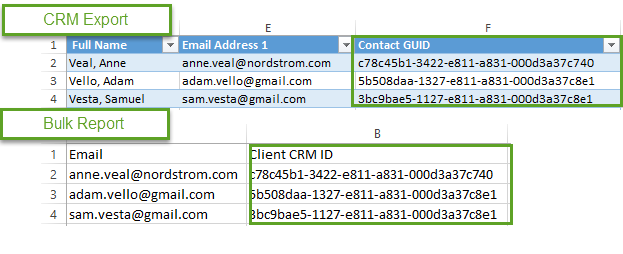
Columns A through C are hidden. You need only the Email Address and Contact GUID columns. Additional columns are included to help with the comparison to Advisor View data and can be deleted.
Step Two: Export Advisor View Data
-
In Advisor View, create a Client Information bulk report. Include the following columns:
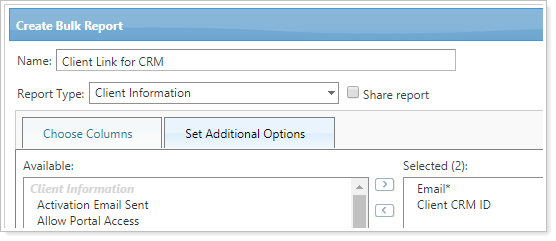
Client CRM ID
-
Run the Client Information bulk report.
-
Save and open the bulk report Excel file.
Step Three: Match the CRM and Advisor View Data in Excel
-
Copy and paste the GUID from the CRM export into the matching row in the Advisor View bulk report.
It is critical that each CRM GUID is correctly matched with the corresponding Advisor View client. This is what Advisor View uses to link the records, so incorrect matching will result in mixed up data.
-
Spot-check to confirm GUIDs were correctly copied into the Advisor View file.
Step Four: Upload the Excel File in Advisor View
-
In Advisor View, under Setup, click Upload.
-
Create a Client Information upload.
-
Add the Excel file containing the matched Client data to the upload.
-
Click Upload. When the upload is complete, check in Advisor View to confirm that Households are linked with the correct CRM account.
Create in Tamarac
Using the Create in Tamarac button allows you to create and link clients in Advisor View with just one click. Use this button to create clients that are members of households that have already been linked. The Create in Tamarac button is used to create and link records in Advisor View one at a time. To link multiple records, refer to the Link Multiple Clients information.
To create Clients in Advisor View, follow these steps:
-
Under Clients, select Contacts.
-
Open the record for the contact you want to create in Advisor View.
-
Click Create in Tamarac.
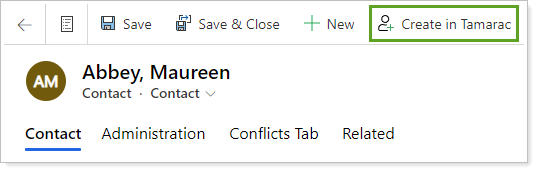
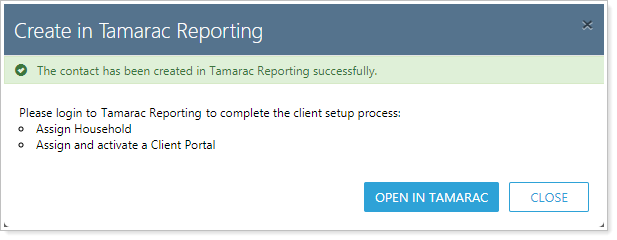
You will receive a confirmation message that the client has been created successfully in Advisor View. A Contact must have an email address to be created in Advisor View.
-
Click Open in Tamarac to finish the onboarding process in Advisor View.
Finding Linked Contacts
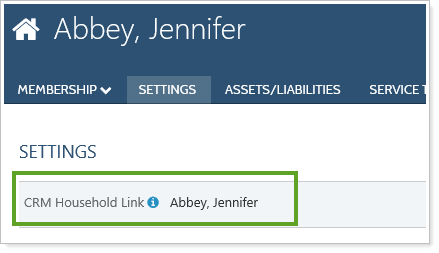
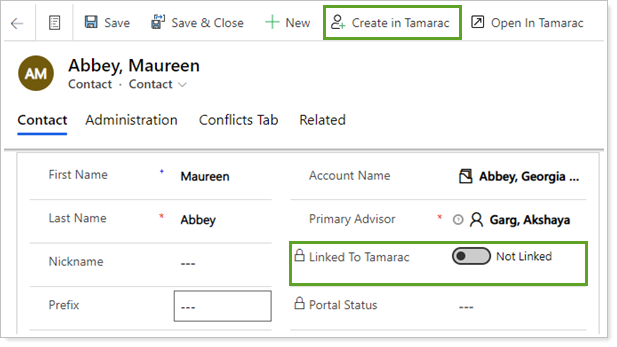
On the contact record, you can identify a linked contact using the Linked to Tamarac field. This field will show as Not Linked for any contact that has not been linked to Advisor View and the Create in Tamarac button will be visible.
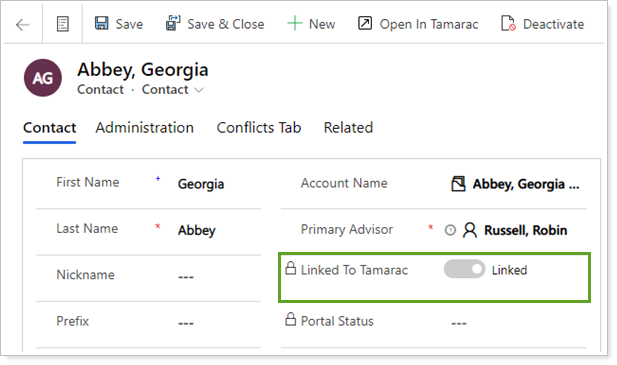
Linked to Tamarac will show as Linked for any contact that has been linked to Advisor View and the Create in Tamarac button will not be visible.
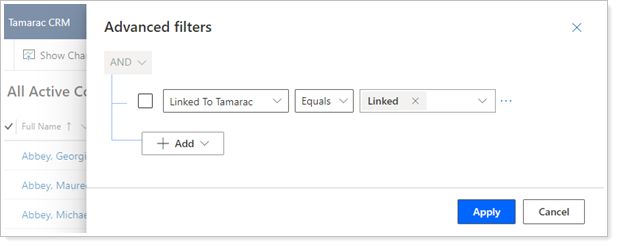
You can create a view to identify all linked or unlinked Account/Households in Tamarac CRM. To create a view, follow these steps:
-
Under Clients, select Contacts.
-
Click
 to open the advanced filtering panel.
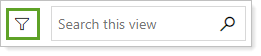
-
Select Linked in Tamarac and choose Equals and Linked.
-
Click Apply.