
By creating a user group, you can set permissions for multiple users at once. A user can be a member of more than one user group, so you have flexibility in assigning permissions.
To create a user group:
-
On the Setup menu, click User Management.
-
In the Manage list, click User Groups.
-
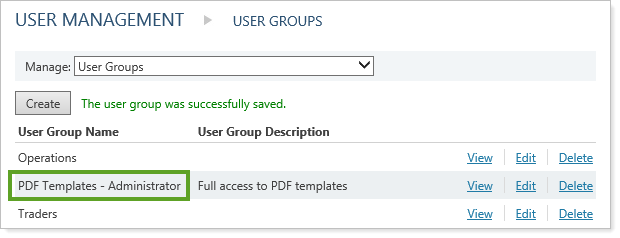
Click Create.
-
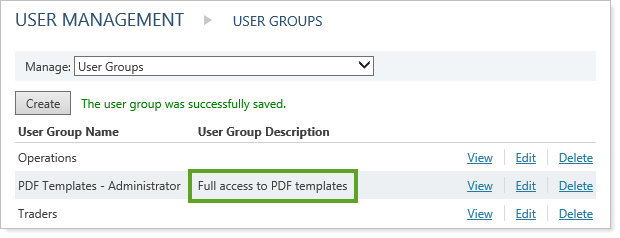
Type a name in the User group name field. This is the name that will be included in the list on the User Groups page once the role is created.
-
Type a description in the User group description field. This description will be included in the list on the User Groups page once the role is created.
-
Click the Users tab.
-
In the Available Users tab, select the users you want to add to the user group. You can narrow the list by selecting the Not assigned to a user group check box, and then clicking Search.
-
Click Add.

-
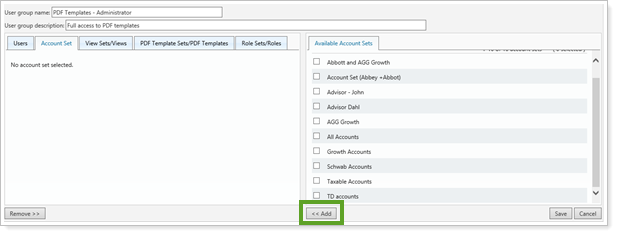
Click the Account Set tab.
-
In the Available Account Sets tab, click the account set that you want to add to the user group. You can only select one account set.
-
Click Add.
-
Click the View Sets/Views tab, then on the Available Views tab, select any PDF templates you want to include in your new user group. You can use the Available View Sets tab to add any template sets.
-
Click Add.

-
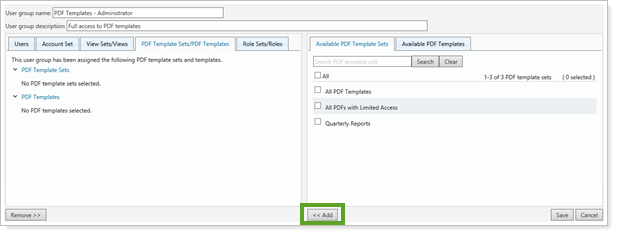
Click the PDF Template Sets/PDF Templates tab, then on the Available PDF Templates tab, select any PDF templates you want to include in your new user group. You can use the Available PDF Template Sets tab to add any template sets.
-
Click Add.
-
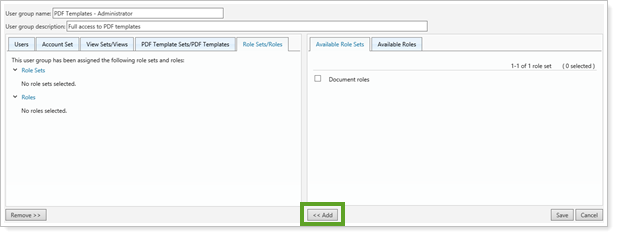
Click the Role Sets/Roles tab.
-
On the Available Roles tab, select any roles you want to include in your group.
-
Click Add.
-
Click Save.
