Contents
|
|

Introduction
Account Access allows you to set access to view the accounts you specify to certain users. For example, a CSA who only works with clients for one primary advisor can be granted access only to the accounts belonging to that advisor. The CSA won't be able to view accounts for other advisors in the firm. This helps protect client information and limits account access only to those users who need to see it.
If you deny account access to a user, that user won't be able to see the account when he or she signs in.
Best Practice
If you also use Advisor View, maintain account access in Advisor View instead of in Advisor Rebalancing. This will save you time and effort as your account access will flow from Advisor View to Advisor Rebalancing.
If you use both Advisor View and Advisor Rebalancing and don't have this integration enabled, contact Tamarac Support.

Determine Which Accounts a User Can Access
The Account Access option on the User Management page allows you to grant access to users on an account-by-account basis. The first step in this process is determining which accounts a user can access.
Best Practice
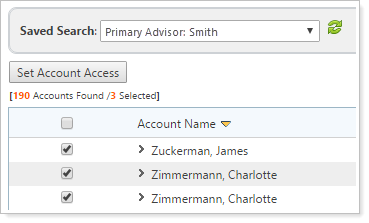
Use a saved search to create a list of accounts that a particular user can access. You can then use this saved search to quickly grant account access to a user without having to pick accounts individually. The Saved Search list lets you choose this saved search, and then you can select those accounts and grant access to those accounts.

For more information, see Working With Saved Searches.
You can also grant access to accounts on an individual basis for some circumstances. You can also give a user access to all accounts.
Set Account Access
Once you've determined the account access that will be granted to users, you can grant them access individually or grant access to several users at once.
Grant or Deny Account Access to a User
To grant or deny account access to a user, follow these steps:
-
On the Setup menu, click User Management.
-
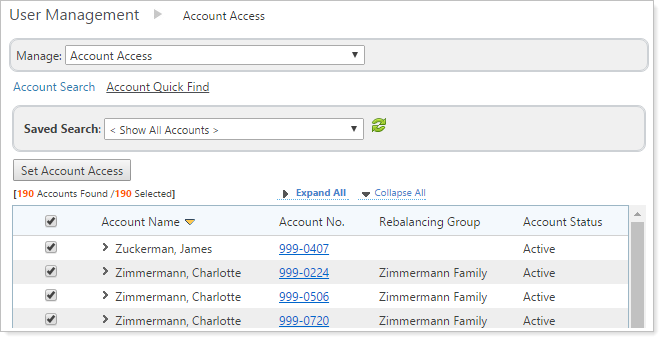
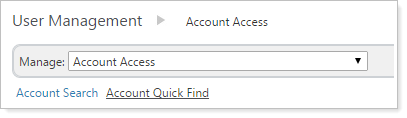
Choose Account Access in the Manage list.
-
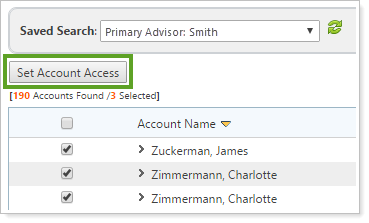
Select the individual accounts where you want to grant or deny access, or select all accounts. Use the Saved Search list to limit the accounts listed.
-
Click Set Account Access.
-
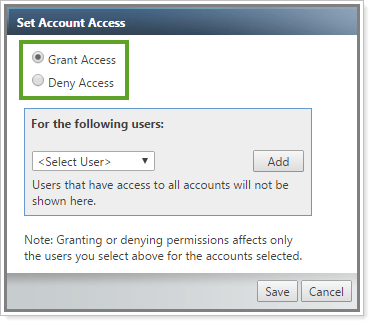
Select Grant Access if you want to allow a user to access the selected accounts or Deny Access if you want to prevent the user from accessing the selected accounts.
-
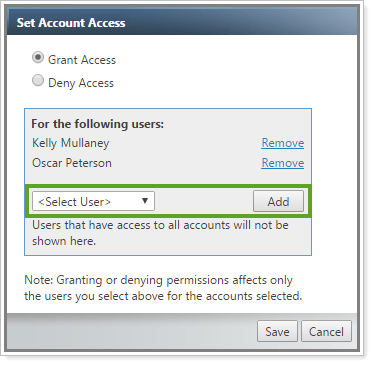
Select the applicable user in the Select User list and then click Add. Repeat this step to add additional users, if needed.
Note
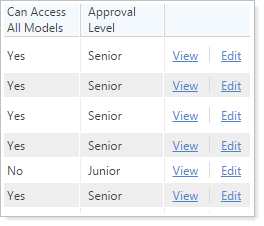
Administrators and users with access to all accounts will not appear in the list.
-
Click Save.
Grant a User Access to All Accounts
Generally, only account administrators are given access to all accounts. However, in some instances, you can grant a user access to all accounts in your firm.
To allow access to all accounts, follow these steps:
-
On the Setup menu, click User Management.
-
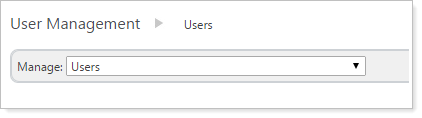
Choose Users in the Manage list.
-
Find the user to whom you want to grant access to all accounts and click Edit.
-
Select Yes in the Can access all accounts list. This is found under the Available Settings tab.
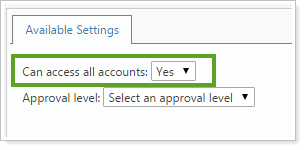
Note
This setting will be automatically set to Yes for enterprise administrators; this cannot be changed. To remove administrative privileges for a user, contact Tamarac support.
-
Click Save.
Note
This user may need to sign out and sign back in again for the changes to take effect.
View Account Access for a Particular User
To see which accounts a user can access, follow these steps:
-
On the Setup menu, click User Management.
-
Choose Account Access in the Manage list.
-
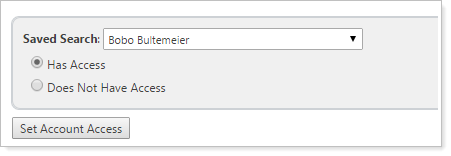
Select the user whose access you want to review in the Saved Search list. You can find your users at the top, under Account Access by User.
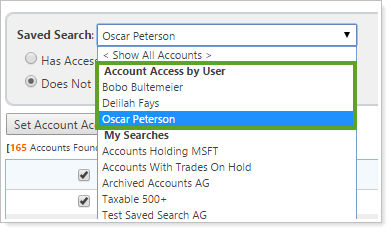
-
Select Has Access or Does Not have Access to filter the page.